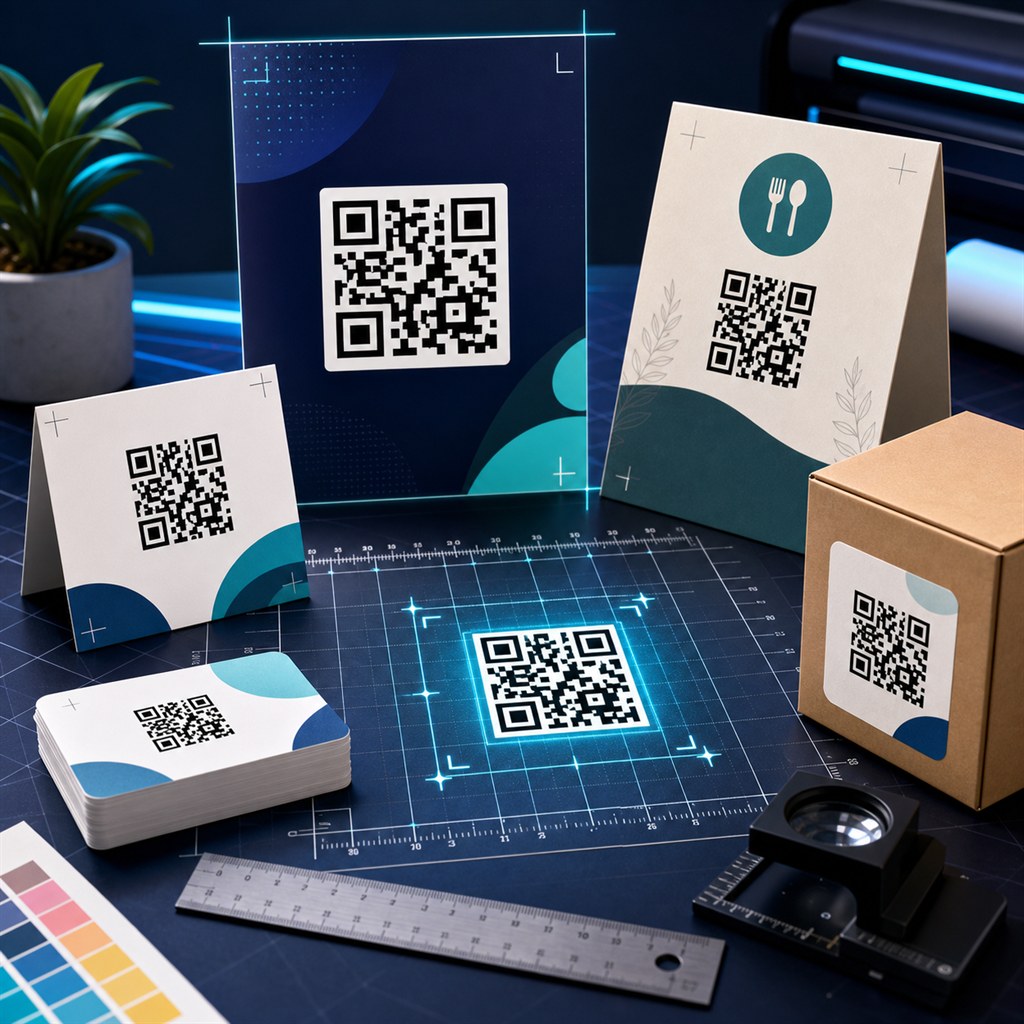
Adding a logo to a QR code is a popular branding move — a company logo in the center makes the code look intentional and trustworthy instead of generic. The challenge is that poorly configured logo QR codes fail to scan, which defeats the purpose entirely.
This guide explains the mechanics, the rules, and the decisions that determine whether a logo QR code scans reliably or not.
Why logo QR codes work at all
QR codes include built-in error correction. The standard defines four levels — L (7% recovery), M (15%), Q (25%), and H (30%). A logo placed in the center obscures part of the QR pattern, but error correction reconstructs the missing data at decode time.
The practical implication: a logo can cover up to 25–28% of the QR area without preventing a scan — as long as error correction is set to H. At lower levels the logo will cause scan failures.
The one rule you must follow
Set error correction to H before adding a logo. This is the only error correction level that leaves enough redundancy. L, M, and Q do not — they fail when a logo covers the center modules.
A good QR code generator upgrades error correction automatically when you upload a logo. If yours does not, set it manually before downloading.
How large can the logo be?
The logo should cover at most 25–30% of the QR code's width and height. In a 512px QR code that is roughly 128–153px of logo. Larger logos push past the error correction limit and cause scan failures even at level H.
Simpler logos — a single icon, monogram, or geometric mark — tolerate the higher end of that range. Complex logos with fine detail, thin lines, or text should stay at 20–22%.
- 20–25%: safe for almost any logo at error correction H
- 25–30%: works for simple icons and bold marks
- Above 30%: will fail on most scanners regardless of error correction
What logo file format to use
PNG with a transparent background gives the cleanest result. The QR pattern is visible through transparent areas around the logo, which looks better and avoids a white rectangle covering part of the QR pattern that error correction then has to reconstruct.
SVG logos also work well in tools that support them. Avoid JPEG — lossy compression creates visible artifacts around logo edges that reduce visual quality. Keep the file under 500KB for fast in-browser rendering.
Contrast and quiet zone rules
The QR module color must have strong contrast against the background. Dark modules on a white or near-white background is the reliable default. Avoid light-colored modules on a white background — scanners need a minimum contrast ratio to distinguish bars from spaces.
The quiet zone is the white margin around the QR pattern. Most tools include it automatically. If you crop the QR or embed it in a design, keep at least 4 module widths of white space on all sides.
- Dark foreground (navy, black, dark green, charcoal) on white background: always works
- Inverted (white modules on dark background): works on many modern phones, not universal — test before printing
- Colored modules on colored background: test extensively — low contrast causes failures
- Never crop the quiet zone — it is part of the QR spec
Common mistakes that break logo QR codes
The most frequent failure is using the wrong error correction level. A logo QR code with error correction M or L will fail on many scanners despite looking fine visually.
Other common issues: logo is too large and exceeds the 30% threshold; logo has a white square background that hides more QR pattern than the logo itself; the QR is printed too small; or the QR is tested only in ideal conditions (close distance, high screen brightness) without real-world print testing.
- Wrong error correction level (must be H)
- Logo too large (over 30% of QR width)
- White logo background hiding extra QR area beyond the logo bounds
- Too small print size for the intended scan distance
- Only tested on-screen — not on a physical print
Testing checklist before printing
Test the downloaded QR code file before sending anything to print. A QR that scans on screen from 10cm may fail on a printed card from 20cm in normal indoor lighting.
- Scan with iPhone Camera app (no third-party app)
- Scan with an Android phone (camera or Google Lens)
- Test at the intended print size — zoom the screen to simulate
- Test in normal room lighting, not just direct bright light
- Test from the intended scan distance (15cm for a card, 30cm for a poster)
- If any test fails: reduce logo size by 5% and retest
Khushbu
Full-Stack Developer & Founder
I build tools I wish existed — fast, free, and private. Every tool runs in your browser because I believe your data should stay yours.
Tools mentioned in this guide