

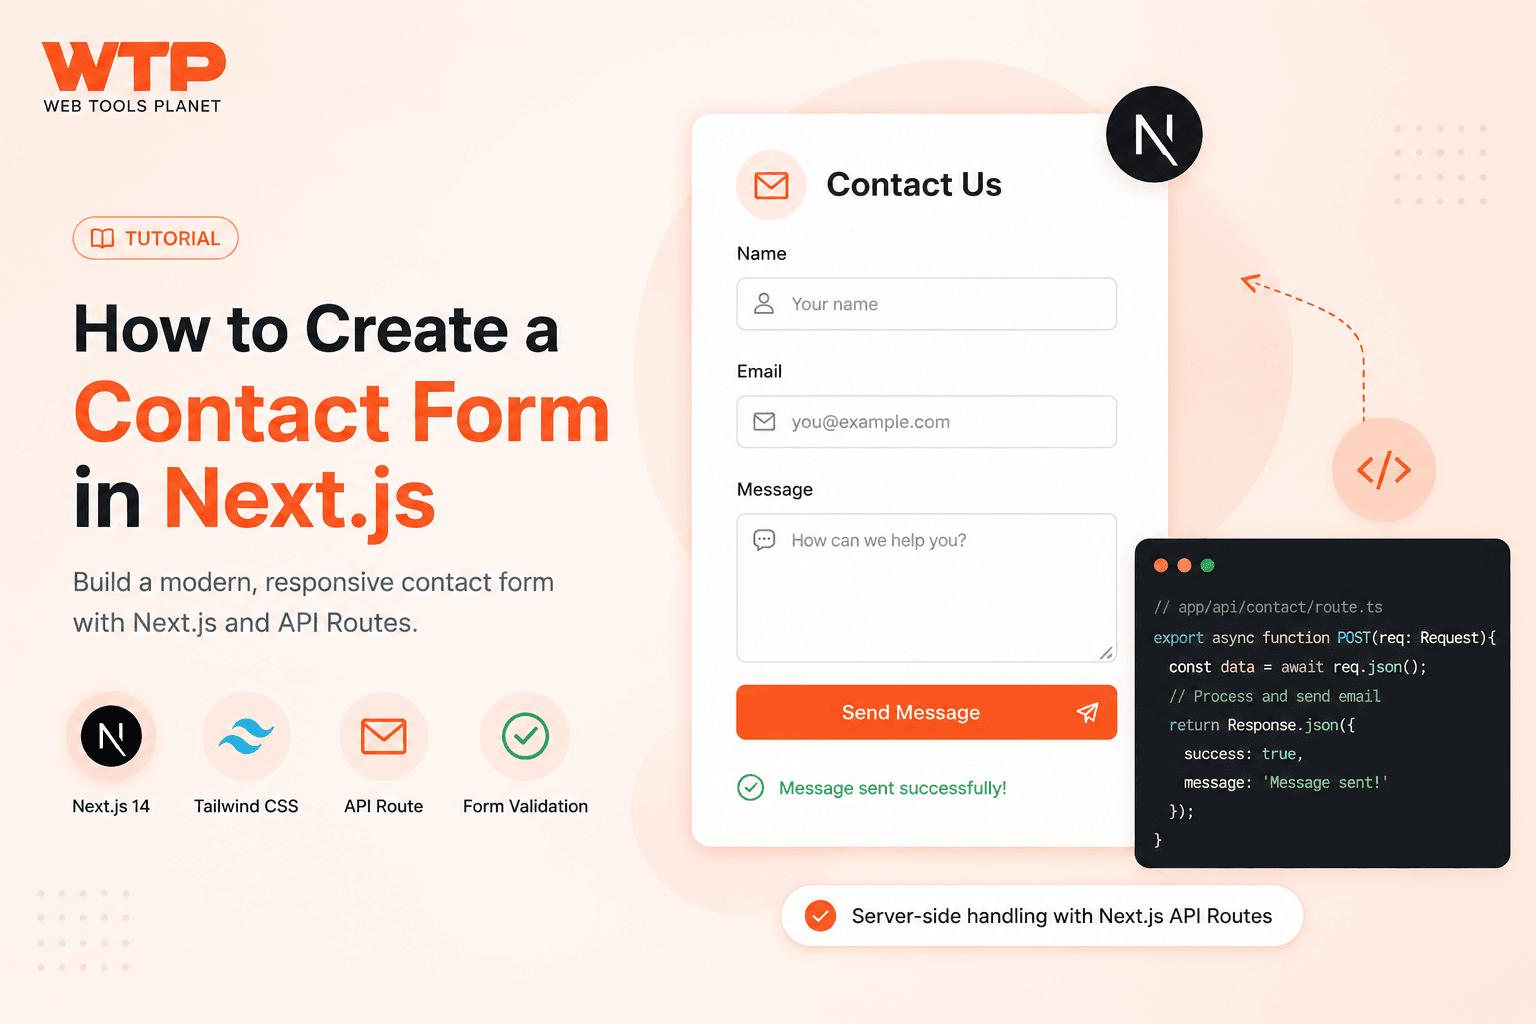
A Next.js contact form has one extra wrinkle plain HTML doesn't: the App Router splits your code into server and client components, and a form with onChange handlers and local state has to live on the client side of that split. Get the boundary wrong and you'll spend an hour debugging an error that has nothing to do with your form logic.
Quick Answer
A Next.js contact form needs a 'use client' component with controlled inputs (useState + value/onChange), a handleSubmit function that calls event.preventDefault() and sends the data with fetch, and either a third-party form endpoint or your own Route Handler (app/api/contact/route.js) to actually deliver the email. Form Studio generates all of this for you — a complete, working client component in one click.
Use the Free Tool
Form Studio's Next.js export generates a ready-to-paste client component: correct 'use client' directive, useState-managed form values, a submit handler wired to whichever delivery method you choose, inline validation states, and an optional honeypot field. Pick the Contact template, open the Code tab, select Next.js, and copy the output straight into a new component file.
Why Next.js Contact Forms Need 'use client'
Next.js App Router components are server components by default — they render on the server and ship no JavaScript to the browser. A form needs onChange handlers, local state for the input values, and a preventDefault()-driven submit handler, all of which require running in the browser. The fix is one line at the very top of the file:
'use client'; import { useState } from 'react'; export default function ContactForm() { // ... }Leaving this out produces an error like You're importing a component that needs useState. This React hook only works in a client component — the single most common first-time mistake with Next.js forms.
A Working Contact Form Component
Here's the shape Form Studio's Next.js generator produces, simplified to the essentials:
'use client'; import { useState } from 'react'; export default function ContactForm() { const [values, setValues] = useState({ name: '', email: '', message: '' }); const [status, setStatus] = useState('idle'); async function handleSubmit(event) { event.preventDefault(); setStatus('submitting'); try { const response = await fetch('/api/contact', { method: 'POST', headers: { 'Content-Type': 'application/json' }, body: JSON.stringify(values), }); if (!response.ok) throw new Error('Request failed'); setStatus('success'); setValues({ name: '', email: '', message: '' }); } catch (error) { setStatus('error'); } } return ( <form onSubmit={handleSubmit}> <label htmlFor="name">Your name</label> <input id="name" name="name" required value={values.name} onChange={(e) => setValues((v) => ({ ...v, name: e.target.value }))} /> <label htmlFor="email">Email address</label> <input id="email" type="email" name="email" required value={values.email} onChange={(e) => setValues((v) => ({ ...v, email: e.target.value }))} /> <label htmlFor="message">Message</label> <textarea id="message" name="message" required value={values.message} onChange={(e) => setValues((v) => ({ ...v, message: e.target.value }))} /> <button type="submit" disabled={status === 'submitting'}> {status === 'submitting' ? 'Sending…' : 'Send message'} </button> {status === 'success' && <p role="status">Thanks — we'll be in touch.</p>} {status === 'error' && <p role="alert">Something went wrong. Try again.</p>} </form> ); }Every input is controlled — its value comes from state and every keystroke updates that state via onChange. This is what makes values a reliable, submittable object rather than something you have to scrape out of the DOM manually.
Wiring Up the Route Handler
The component above posts JSON to /api/contact. That path needs a matching Route Handler to actually do something with the data:
// app/api/contact/route.js export async function POST(request) { const { name, email, message } = await request.json(); if (!name || !email || !message) { return Response.json({ error: 'Missing fields' }, { status: 400 }); } await fetch('https://api.resend.com/emails', { method: 'POST', headers: { Authorization: `Bearer ${process.env.RESEND_API_KEY}`, 'Content-Type': 'application/json', }, body: JSON.stringify({ from: '[email protected]', to: '[email protected]', subject: `New contact form message from ${name}`, text: `From: ${name} <${email}>\n\n${message}`, }), }); return Response.json({ ok: true }); }This runs entirely on the server — RESEND_API_KEY (or whichever email API you use) never reaches the browser, because Route Handlers execute server-side even though they live under app/. If you'd rather skip building your own backend entirely, set the client component's fetch target to a third-party form-endpoint URL instead of /api/contact — Form Studio's Delivery tab generates the fetch call for either option automatically depending on what you configure.
Adding a Honeypot Field
A hidden field that only bots fill in is the cheapest spam filter available. In a controlled React form it can live inside the same values object as every other field — just add a key for it and guard the submit handler:
const [values, setValues] = useState({ name: '', email: '', message: '', hpWebsite: '' }); async function handleSubmit(event) { event.preventDefault(); if (values.hpWebsite) return; // honeypot triggered — silently ignore likely bot submissions // ...rest of submit logic }<div style={{ position: 'absolute', left: '-9999px' }} aria-hidden="true"> <label htmlFor="hp-website">Leave this field blank</label> <input id="hp-website" name="hp_website" tabIndex={-1} autoComplete="off" value={values.hpWebsite} onChange={(e) => setValues((v) => ({ ...v, hpWebsite: e.target.value }))} /> </div>Form Studio's honeypot toggle generates this exact pattern automatically when enabled in the Behavior tab, wired into both the JSX and the submit guard.
Step-by-Step Workflow
Step 1: Build your fields in Form Studio, or start from the component above.
Step 2: Open the Code tab, select Next.js, and copy the generated component into app/components/ContactForm.jsx (or wherever your project keeps components).
Step 3: Decide on a delivery method — your own Route Handler, or a third-party endpoint — and set it in the Delivery tab so the generated fetch call points at the right URL.
Step 4: If using your own Route Handler, create app/api/contact/route.js and wire it to an email-sending API, keeping the API key in an environment variable.
Step 5: Import and render <ContactForm /> from a page component.
Step 6: Deploy and submit a real test. Check both the success-state UI and that the email actually arrives.
Common Mistakes
Forgetting 'use client'. Covered above — it's the first error nearly everyone hits.
Mixing a server component's async data fetching with form state in the same file. Keep the form itself as a small, focused client component and pass any server-fetched data down as props from a parent server component.
Putting an email-provider API key in a client-side fetch call. If your fetch target is your own API, that's correct — the key stays server-side inside the Route Handler. If you accidentally call the email provider directly from the client component, you've just shipped your API key to every visitor's browser.
Not calling event.preventDefault(). Without it, a normal form submission triggers a full page navigation before your fetch call ever fires.
No loading or error state. A submit button with no disabled state during the request invites duplicate submissions from an impatient double-click.
Best Practices
Keep the client component as small as possible — just the form and its immediate state. Push everything else (layout, static content) into a server component parent.
Validate on both ends. HTML5
required/type="email"catches obvious mistakes client-side, but a Route Handler must re-validate — client-side checks can always be bypassed by a direct API request.Use
disabled={status === 'submitting'}on the submit button to prevent duplicate sends.Reset form state after a successful submission so the user doesn't accidentally resubmit the same message.
Store the email API key in
.env.local, never hard-coded, and never referenced from a client component.
Related Tools
Form Studio — Generate a complete Next.js contact form component
JSON Formatter — Inspect the JSON payload your Route Handler receives
HTML Text Input Generator — Generate a single accessible input if you're assembling a form by hand
The Developer Tools category has the rest of the frontend and API utilities that pair well with a Next.js project.
FAQ
Do I need 'use client' on the whole page, or just the form?
Just the form component (and anything it directly imports that also uses hooks). Keep the page itself as a server component and import the client form component into it — this keeps as much of the page server-rendered as possible.
Can I use the Next.js App Router's server actions instead of a Route Handler?
Yes — server actions ('use server' functions passed to a form's action prop) are a valid alternative for App Router projects on Next.js 14+, and remove the need for a separate fetch call. Route Handlers are shown here because they work identically whether you're calling them from a Next.js client component or a plain HTML form, which makes the pattern easier to reuse.
How do I show a "sending…" state during submission?
Track a status state value ('idle' | 'submitting' | 'success' | 'error') as shown above, and use it to conditionally disable the button and render feedback text.
Why is my form submitting but no email arrives?
Check the Route Handler's response in your browser's Network tab first — a 400 or 500 status means the handler itself failed, most often from a missing or invalid API key. If the handler returns 200 but no email arrives, check your email API provider's dashboard for a rejected or bounced send.
Can I generate a TypeScript version instead of JavaScript?
Yes — Form Studio's Next.js export is TypeScript by default (a .tsx file), while the plain React export produces .jsx.
Build Your Next.js Form Now
Generate a complete, working component with Form Studio's Next.js export — controlled inputs, validation, an optional honeypot, and a submit handler already wired to your chosen delivery method. Free, and it runs entirely in your browser.
Put this guide into practice